In this article i’m going to help you with understanding a stock chart, and share some tips which may help beginner traders navigate the chart’s features. This will take the beginner trader through the basic foundation of what appears on the chart, normally by default.
Understanding a stock chart – price movements
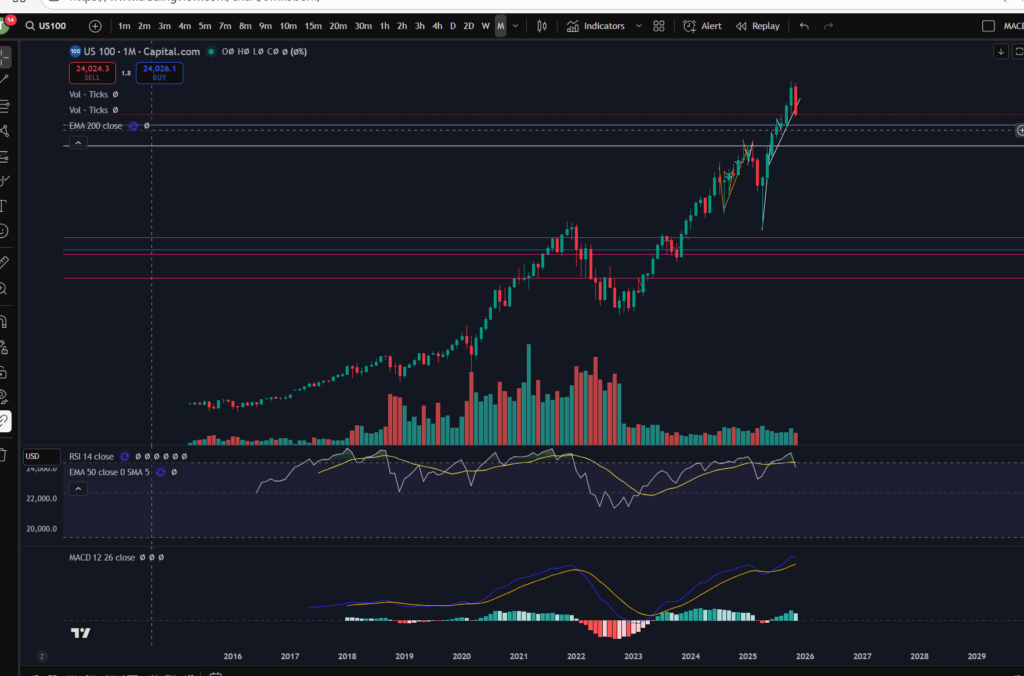
The default position you will likely find when you first look at any stock chart is that the ‘price’ movements are shown with ‘Candlesticks’. This is key to understanding a stock chart. Let’s take a look…
If you would like a discount to the ‘Trading View’ software which I use and highly recommend, please click the button below:
Each green or red candlestick shape you see on the chart, represents the price movement within one interval of time. The interval is determined by the ‘time interval’ buttons selected on the chart. As you can see on the above screen shot, ‘M’ is highlighted in the ribbon at the top – what this means is that this is a ‘monthly chart’ – each candlestick represents the price movements within one month’s period. I’ve posted separate articles on understanding candlesticks, which you will find here:
Make more money with Japanese Candlesticks – an Introduction – Trader Pro
The basic premise of candlesticks is that if they are green, it means the price closed higher in the interval, and if they are red, the price closed lower within the interval.
You can also understand more about the pattern formations of these, here:
Japanese Candlesticks – Trader Pro
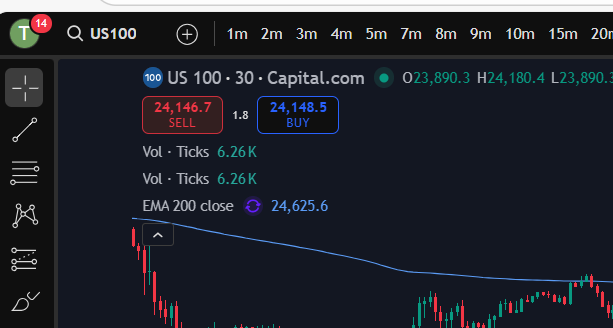
The price ‘level’ is normally displayed down the right hand side of the chart. You can see here, that the price range is 23,281 USD to 26,000 USD.
You will need to pay careful attention to which ‘price’ is being displayed… is it the price inclusive of the spread for example, or does it not include the spread? When I was a new trader, this used to catch me out – the stop loss would sometimes be triggered when the price seemingly did not go there on the chart!? It’s because the price displayed on the chart did not include the spread so the gap which was covered with the spread seemed like a mystery to me, and almost felt like broker manipulation. I understand more now.
If you check the settings in your chart carefully, you will find a setting to tell the chart to either include the spread, or not. Your wish with this, may change depending on what you are doing on the chart! If you are setting an order to ‘buy’ at a particular price, you may want to include the spread in the settings…
Understanding a stock chart – Time intervals
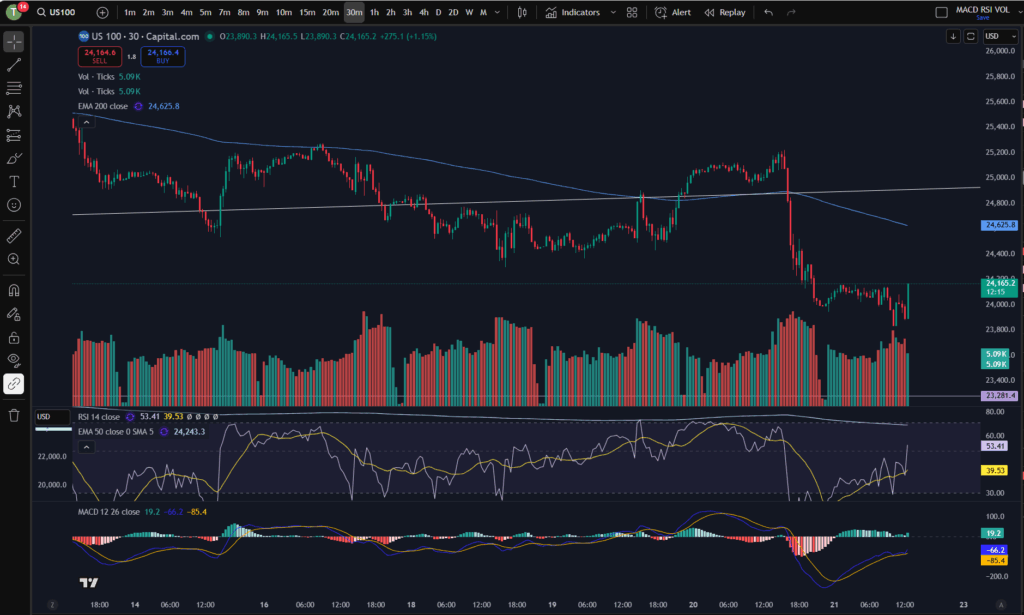
Each chart will have a couple of ribbons of time intervals – probably along the top and also the bottom. One of these ribbons allows you to select alternative time intervals to be displayed, as mentioned above. When these are clicked, you can toggle between for example, the ‘daily’ timeframe, and the 4 hour time frames. The daily timeframe will show you candlestick price movements, with each one representing the movement within one day, and the four hour will likewise, show you the movements for each four hours that have occurred. The other ribbon shows you the relevant tie that the price movements occurred – so you can see on the above chart, that the time spans from the year 2016 to 2029 (no candles formed yet as this is in the future at the time of writing this article).
Deal tickets
You can bring up a ‘deal ticket’ or ‘order ticket’ by clicking on the Buy or Sell buttons at the top of the screen. The value indicated on the button, is the buy or sell price and the ‘spread’ sits in between these values as below:
You do need to understand the spread, and I have linked another article below, which gives you an understanding of this:
Understanding the spread – Trader Pro
In short, the spread is the bit of price, in between the buy and sell values and it’s the ‘cut’ that the broker takes from the market.
The different types of deal tickets and orders you can place in the market, will be covered in another article.
Toolbar
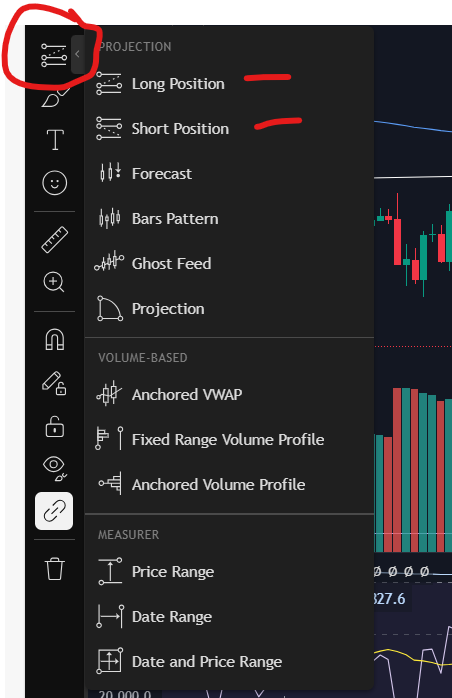
You will see somewhere on your chart, a toolbar with different symbols on it. On Trading View, this is down the left hand side of the screen:
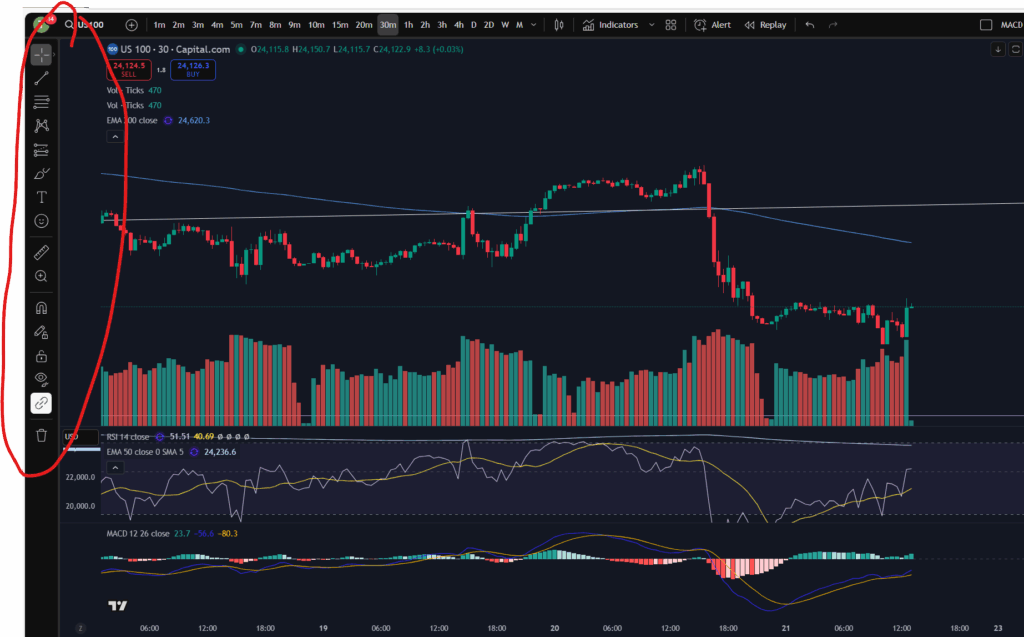
This gives you various different tools for drawing symbols and diagrams on your chart. You can draw ‘support and resistance’ lines including horizontal and diagonal ones. You can also measure price and time interval values with the ‘ruler’ shown. It’s got a zoom in/out function. You can make notes and keep them pinned to the chart indefinitely.
You can also plan trade set ups in terms of where you will enter, take profit or take a loss, with this icon:
Technical indicators
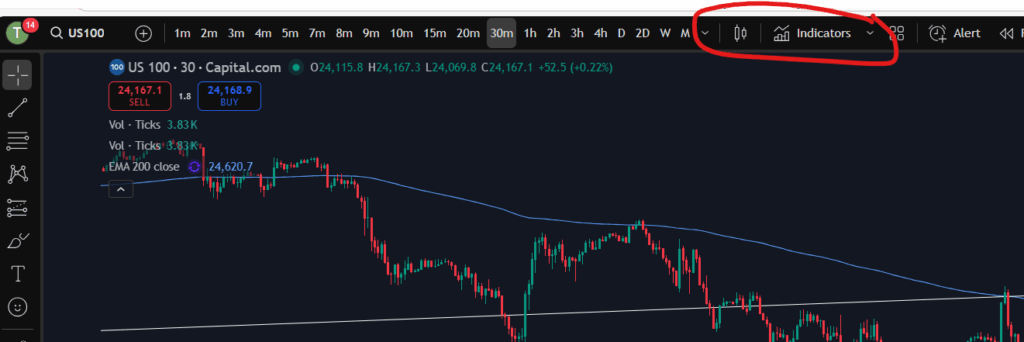
Another important aspect of understanding a stock chart which you will want to become familiar with, is the technical indicators menu. This is where you will find the MACD indicator, the volume, moving averages – any type of indicator you wish to add to your chart. There is a wide variety with Trading View which is another reason I really like the software.
For my own strategy and set up, I use the RSI, the MACD, the volume, and the 50 and 200 period EMA lines (exponential moving averages).
In Trading View, you can find the Technical Indicators menu, here:
Understand my strategy in full: https://www.patreon.com/Traderpro8320
To see my YouTube video explaining this article, please click the following link:
For more great tips on trading the financial markets, please visit my blog:
Discount on Trading View:
https://www.tradingview.com/?aff_id=117138
My performance in the live markets:
https://sophiatrades.co.uk/category/my-performance-statistics
Finally, thank you to my existing members on Patreon, and for your likes, comments and subscribes. Happy trading!
Please note any subscriptions taken via my affiliate link with Trading View may result in me earning a small commission.